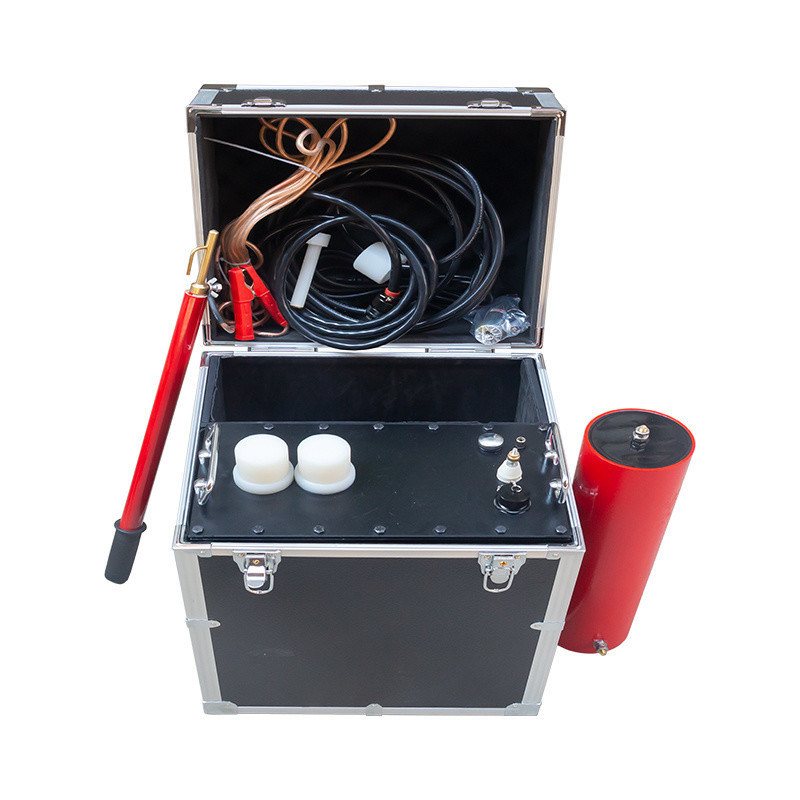
Ratings up to 60 kV use one booster; ratings above 60 kV use two boosters in series. The controller is the same, but the cabling, the earthing points and the discharge procedure are not.
XHDP sets are wired in one of two ways. Ratings up to 60 kV use a single booster: controller to booster to specimen. Ratings above 60 kV use two boosters connected in series, which is how 80 kV is reached. The controller is the same unit in both cases, which is why one control box can be matched to more than one booster over the life of the set.
| Single booster | Two boosters in series | |
|---|---|---|
| Used for | Ratings up to 60 kV | Ratings above 60 kV |
| Boosters on site | One | Two, connected in series |
| Typical build | One booster matched to the rating | Two 40 kV stages adding to 80 kV |
| Separate use | Not applicable | Each stage can be used on its own for lower-voltage work |
| Cabling | One high voltage lead, one multi-core cable | Two high voltage leads plus the series link between stages |
The point of the series arrangement is not only to reach a higher voltage. It also keeps each piece light enough for one person to handle, and it means that on a day when only 25 kV class work is scheduled, one booster stays in the van.
After the test the specimen holds charge. Use the discharge rod, then short-circuit and earth, and only then approach the specimen. This is not a formality: a cable that has just been taken to test voltage retains energy long after the instrument has stopped. The instrument discharges automatically at shutdown, but the working procedure - rod, short, earth, confirm - stays with the crew.
Ratings above 60 kV use two boosters connected in series; 80 kV is reached that way. Ratings up to 60 kV use a single booster. The controller does not change between the two configurations.
Yes. Each stage can be used on its own for lower voltage work, which is why a two-booster set can also cover the test list of a smaller single-booster set.
The output lead is rated 150 kV. It is part of the set and is used for both the single-booster and the two-booster configuration.
The specimen has to be earthed and discharged before anyone touches it, and the barrier around the test area stays in place until that is done. The switching, earthing and discharge procedure remains the responsibility of the crew on site.
Send the model and the booster count you plan to use, and we will send the matching connection diagram and the earthing points for your file.
Overall Rating
Rating Snapshot
The following is the distribution of all ratingsAll Reviews